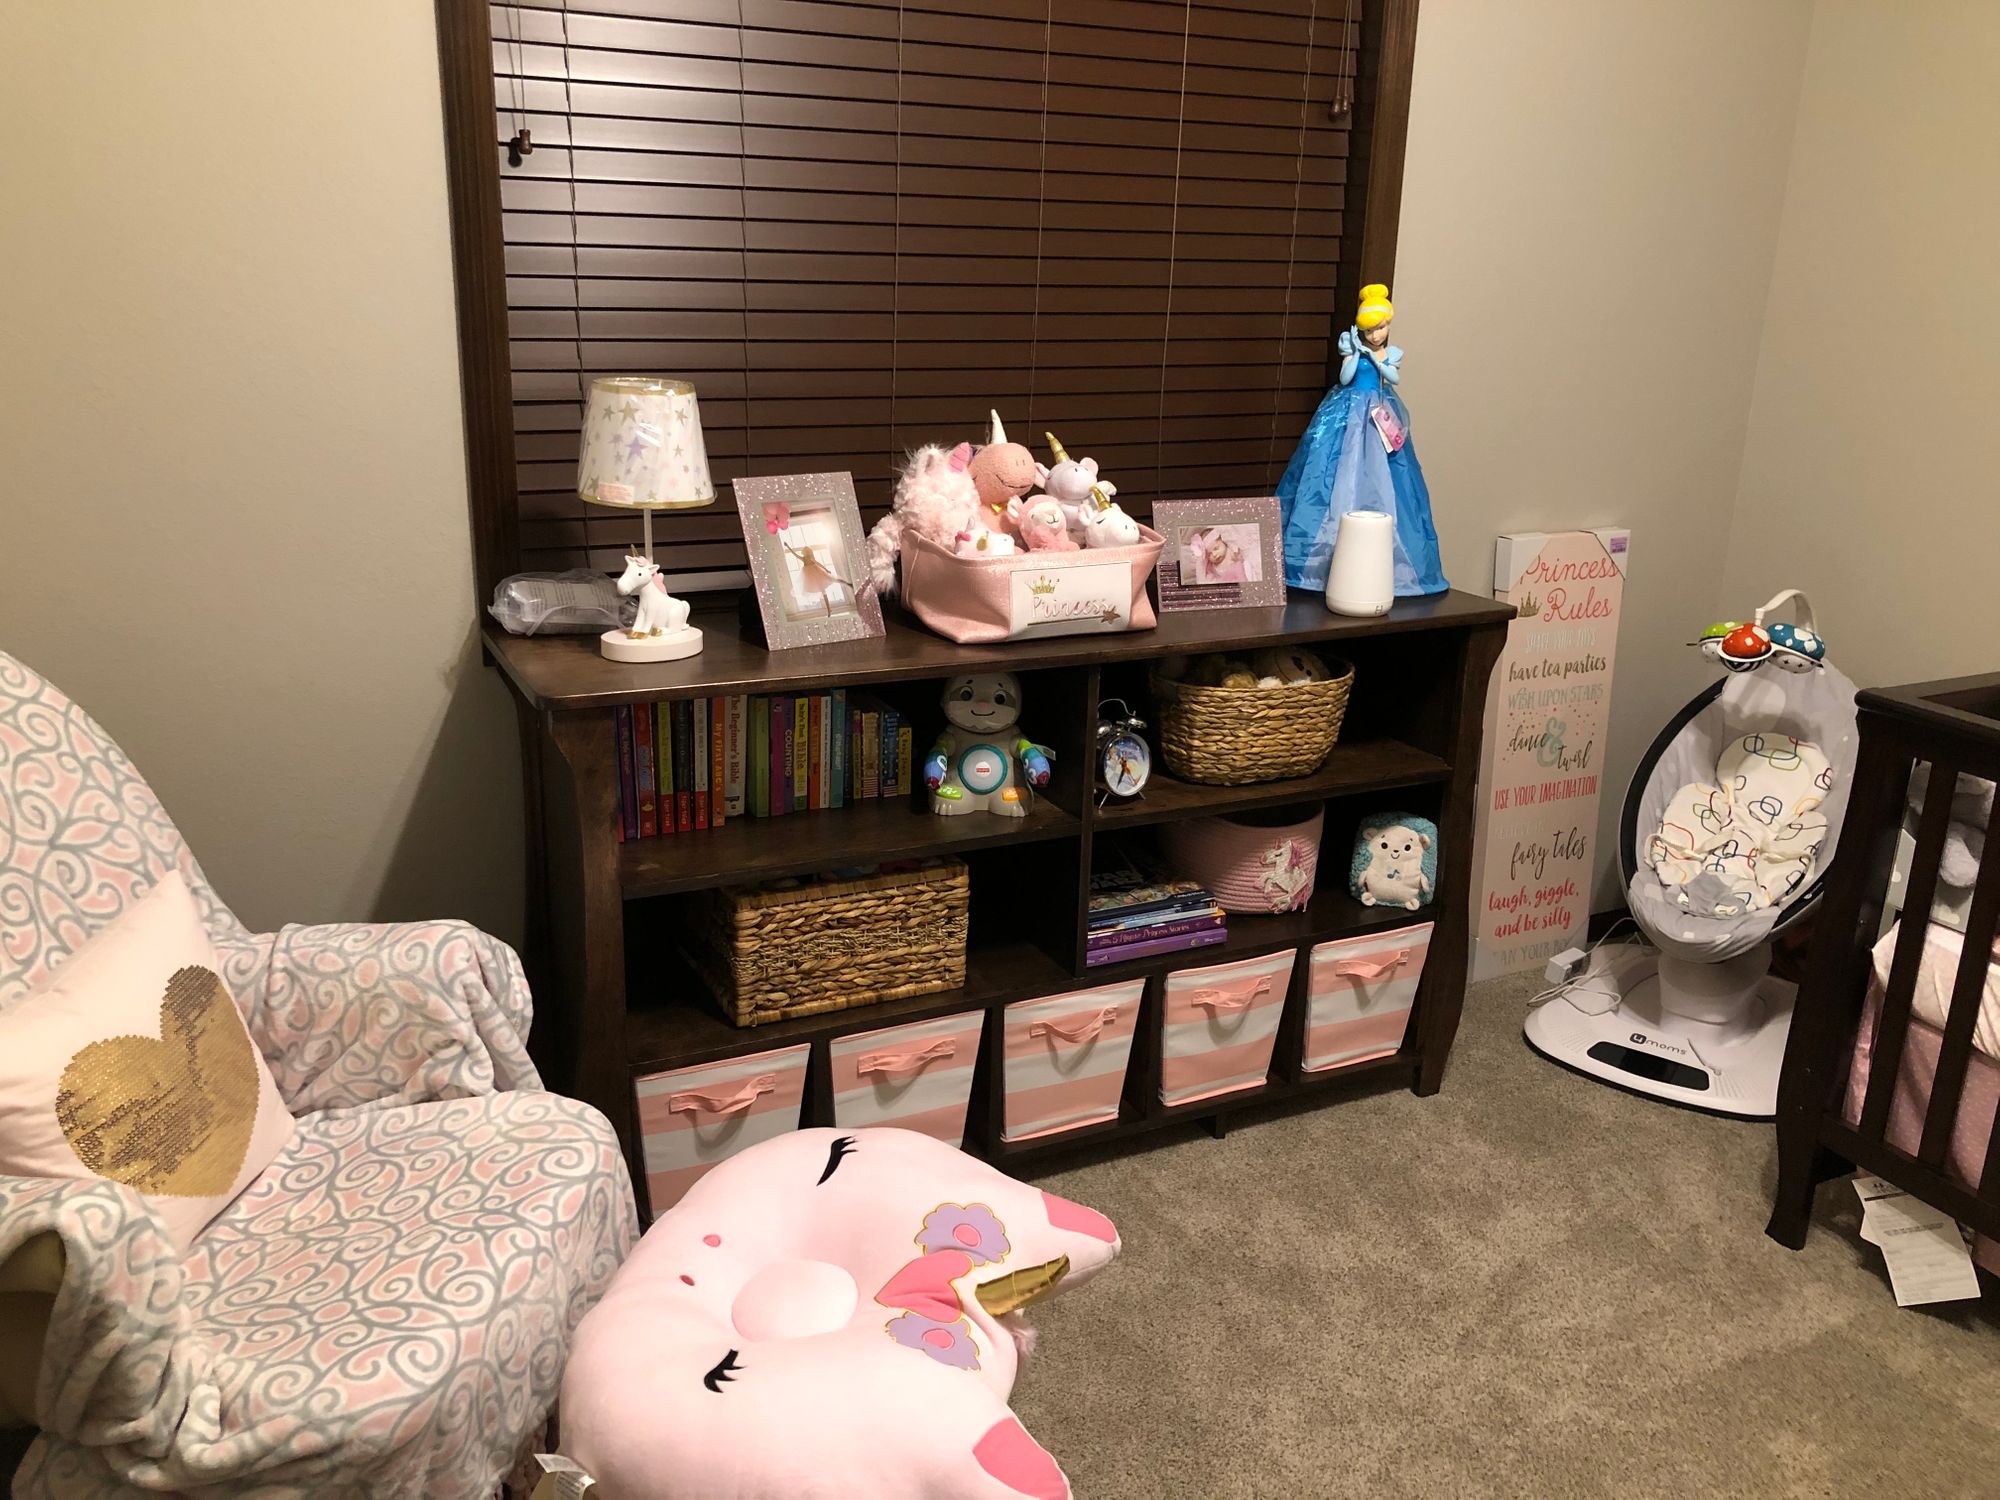
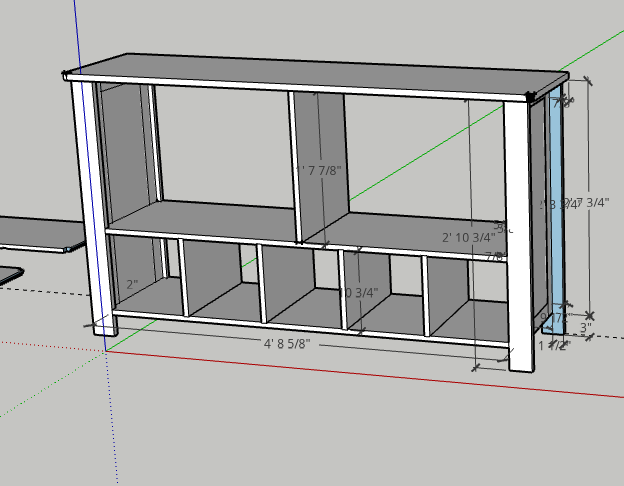
So we're expecting a baby here in the next week or two and my wife wanted a shelf/armoire/ambry(?) thing that matched our crib and changing dresser (see pictures of the store bought crib and dresser below). I drew up some plans in the free version of SketchUp and got to work.
I happened to have a fair amount of S3S birch lumber lying around (waiting to be turned into cabinets and a vanity for in our basement) so I picked a few decent boards from the pile. I knocked off the end pieces to avoid end splitting, cut the lumber down to rough size, and then jointed and planed them down to size.
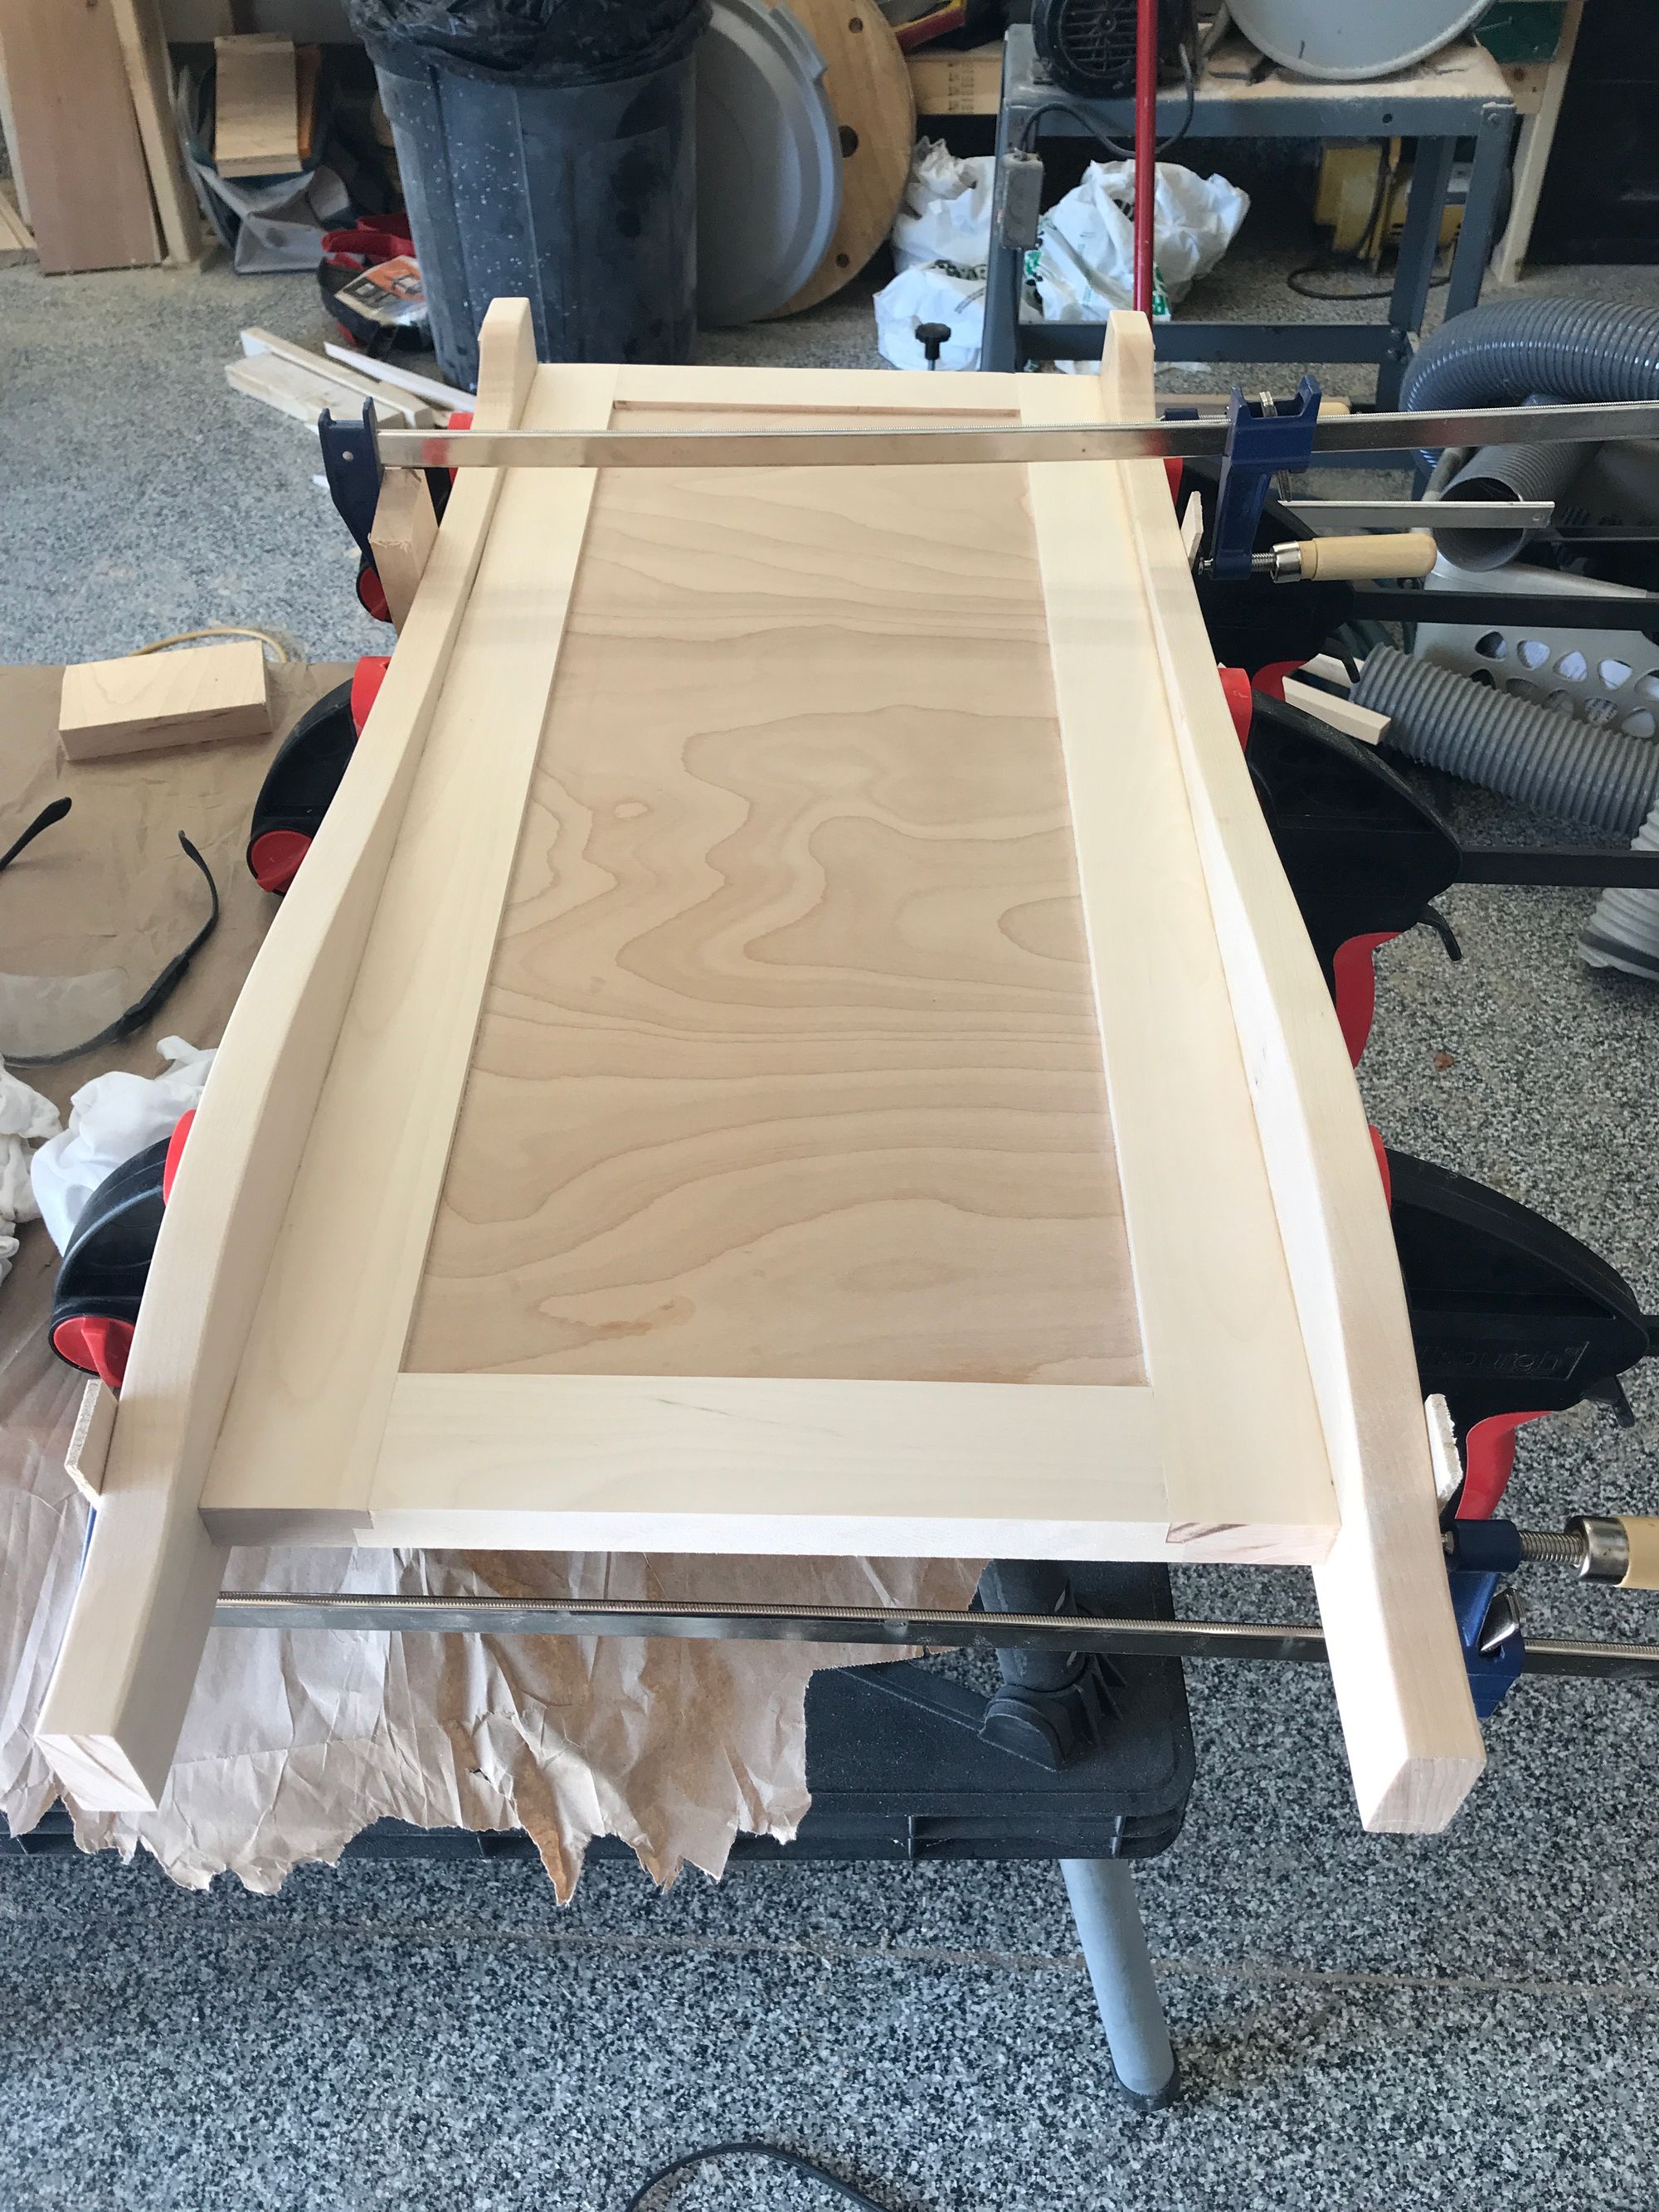
I tackled the side panels first. They were just lap joined birch rails and stiles with a rabbet cut inside and a 3/4" birch panel with a rabbet fitting in the middle. The hardwood was left at around 7/8" to leave a small indentation on the outer side to match the same indentation on the changing dresser.
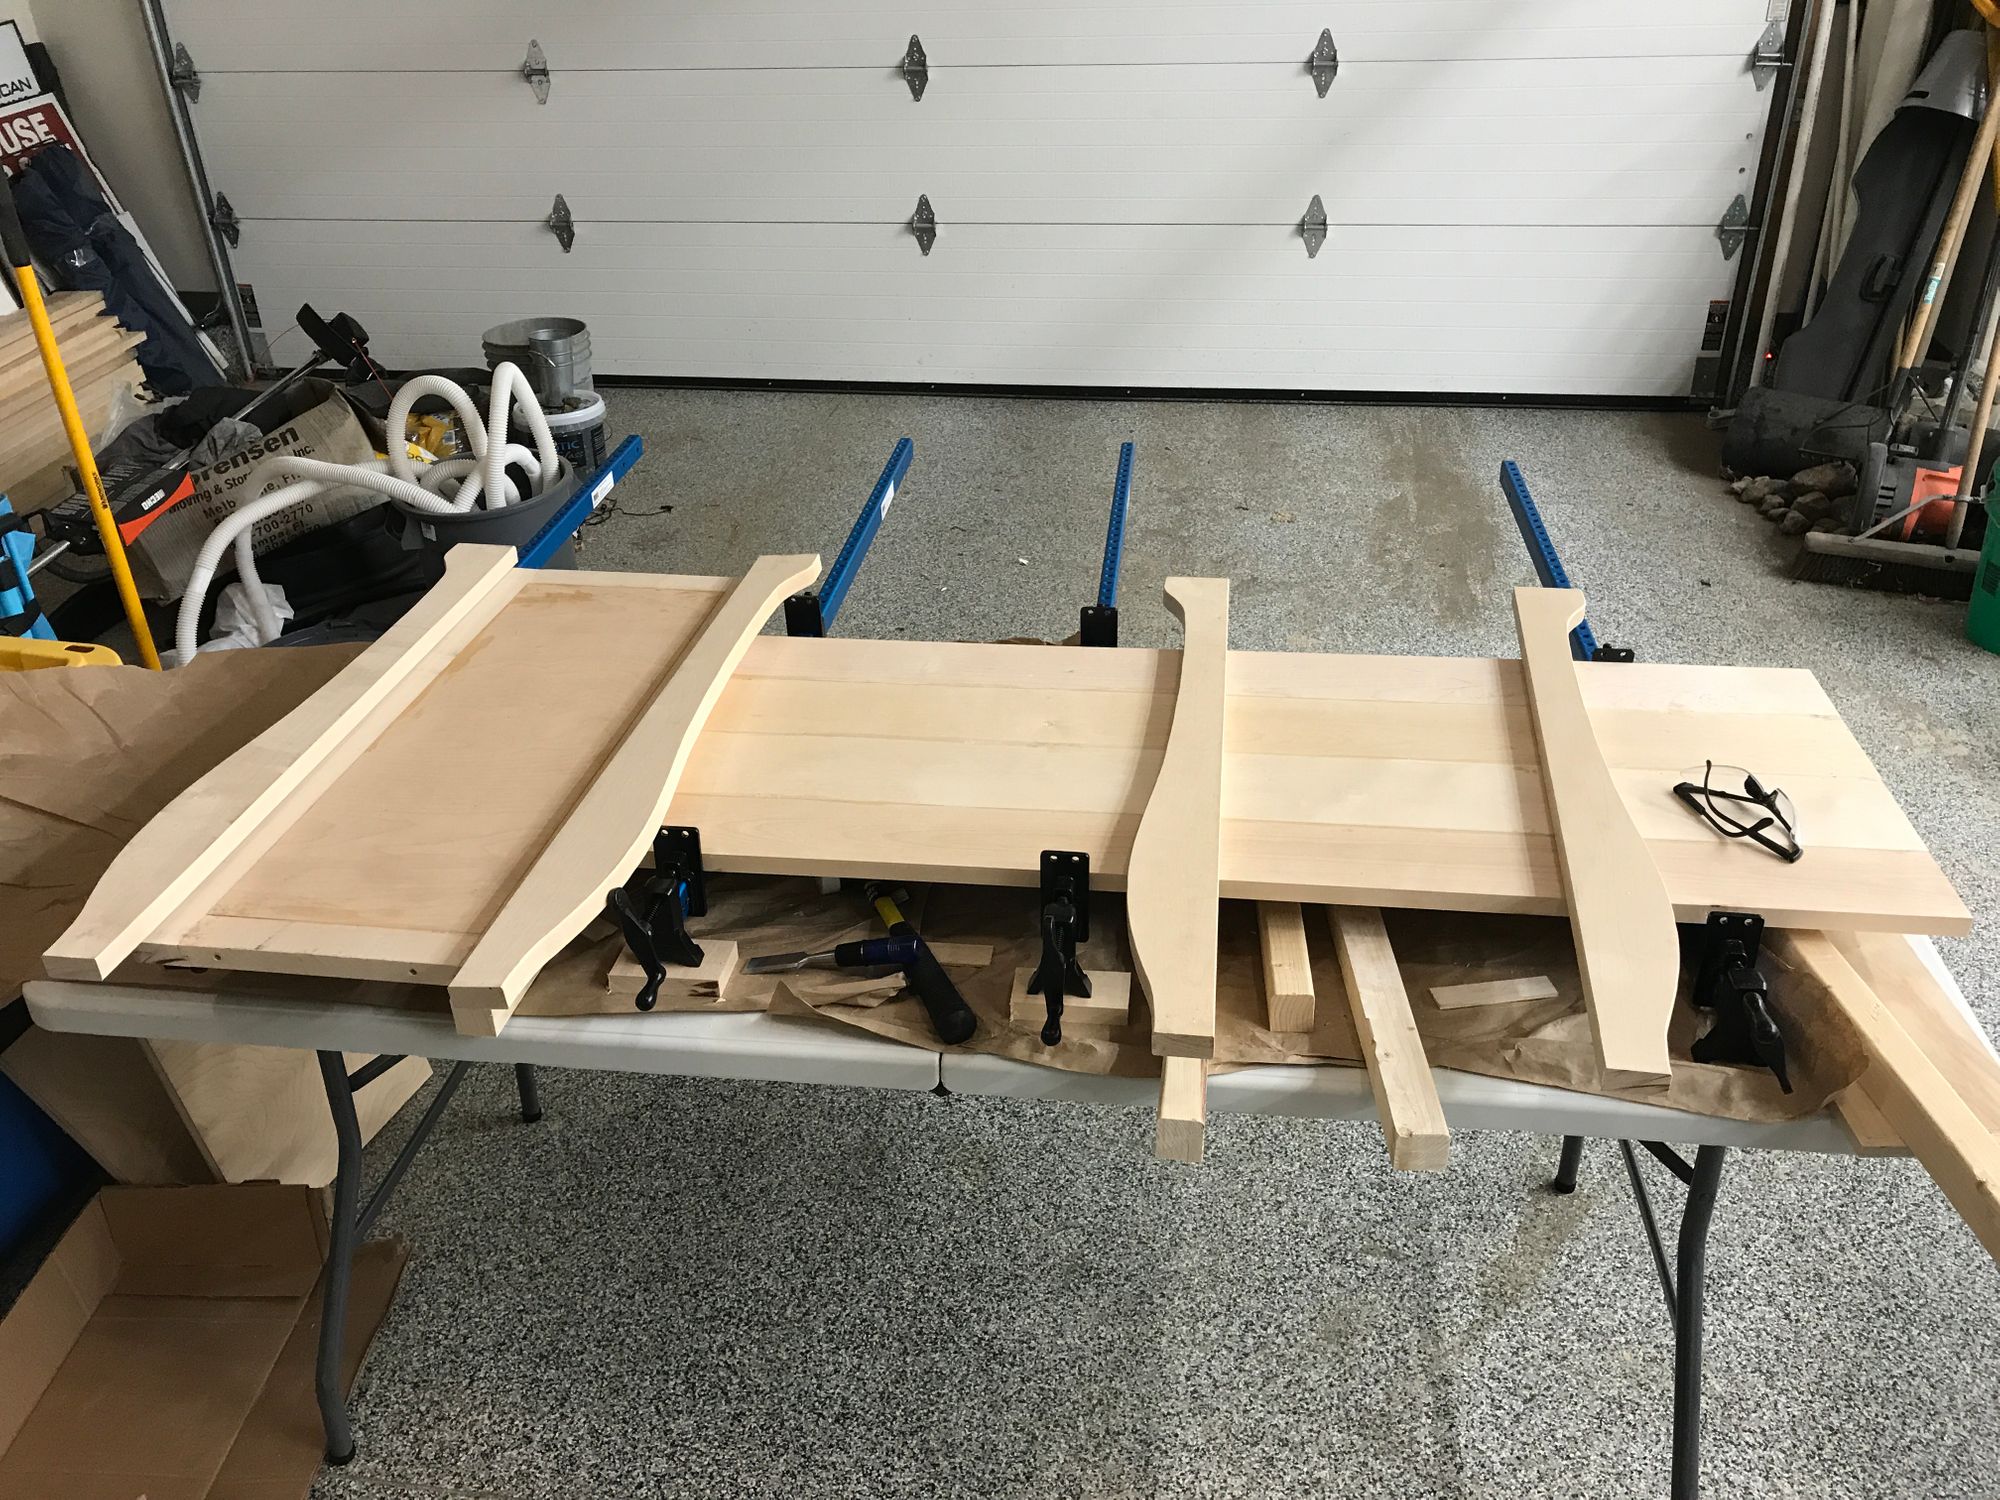
For the legs I traced one of the dresser's legs onto cardboard and used that to cut out the rough shape in birch. I cleaned up the first leg and then used a flush trim bit and the leg as a template to cut out the other three legs.
For attaching the legs to the panels I used five 1/4" dowels spread evenly down the stiles on each side of the panel, so five dowels on each side of the panel. Finally, before gluing the panels together, I also used the drill press to pre-drill holes for where dowels would be used to attach the top - two dowels on each side panel.
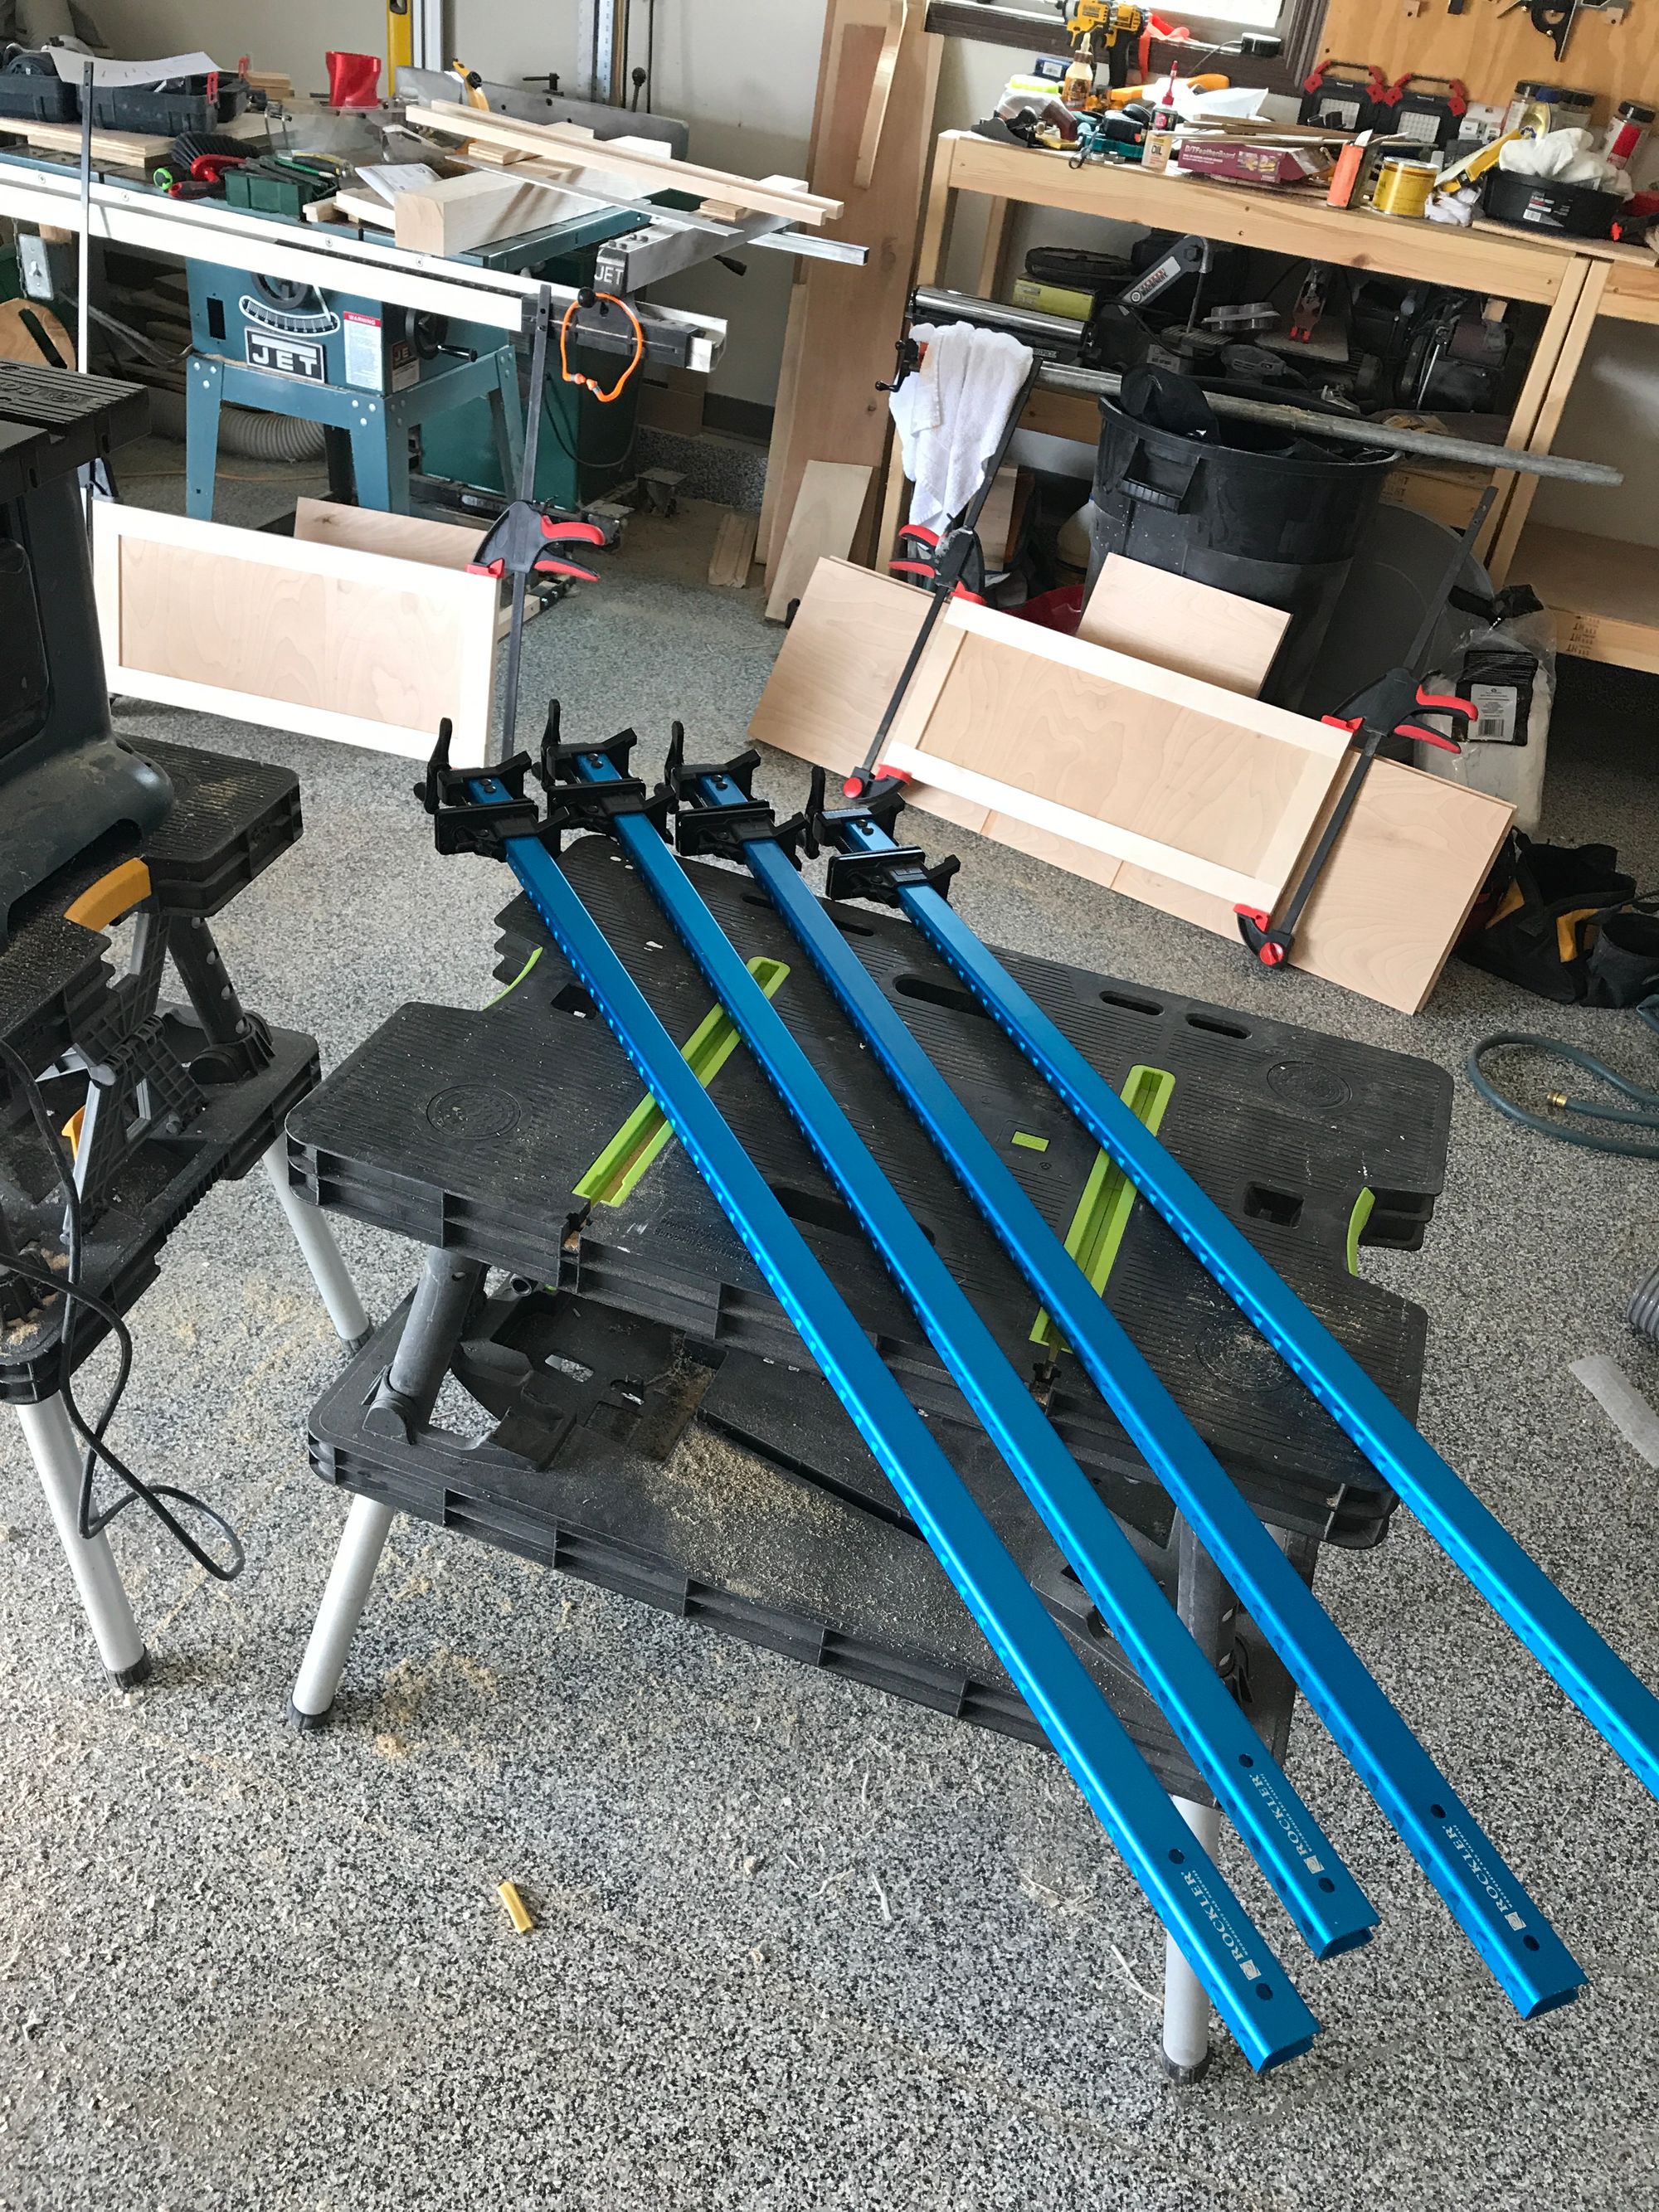
After the panels were done I laminated boards together to make the top. I made some quick cauls out of some 2x4s and used some fancy clamps from Rockler (seen above) specific to the task. This was the first lamination I've ever really done. Were I to do it again (which I am in building a small shoe bench), I'd use biscuits or loose tenon joiner in the middle.
The shelving was all cut from 3/4" birch. My local home store doesn't carry baltic birch on hand so it's just 2-sided cabinet quality birch. In the future I'll probably just mass order a bunch of baltic birch just so I have some for projects like this. I cut dados in the horizontal shelves for the vertical shelves to all slide in.
At this point my wife handled the sanding. It was a lot of sanding and the top took a little extra care to make sure it stayed flat.
Gluing it all together was "exciting". I got the panels and shelves all glued together except for the top vertical divider. Once the first assembly had dried for an hour I marked locations for dowels from the top of the two side panels and the top vertical divider onto the bottom of the top. I drilled holes for those dowels, checked the fit, and then glued the divider and top onto the rest of the assembly.
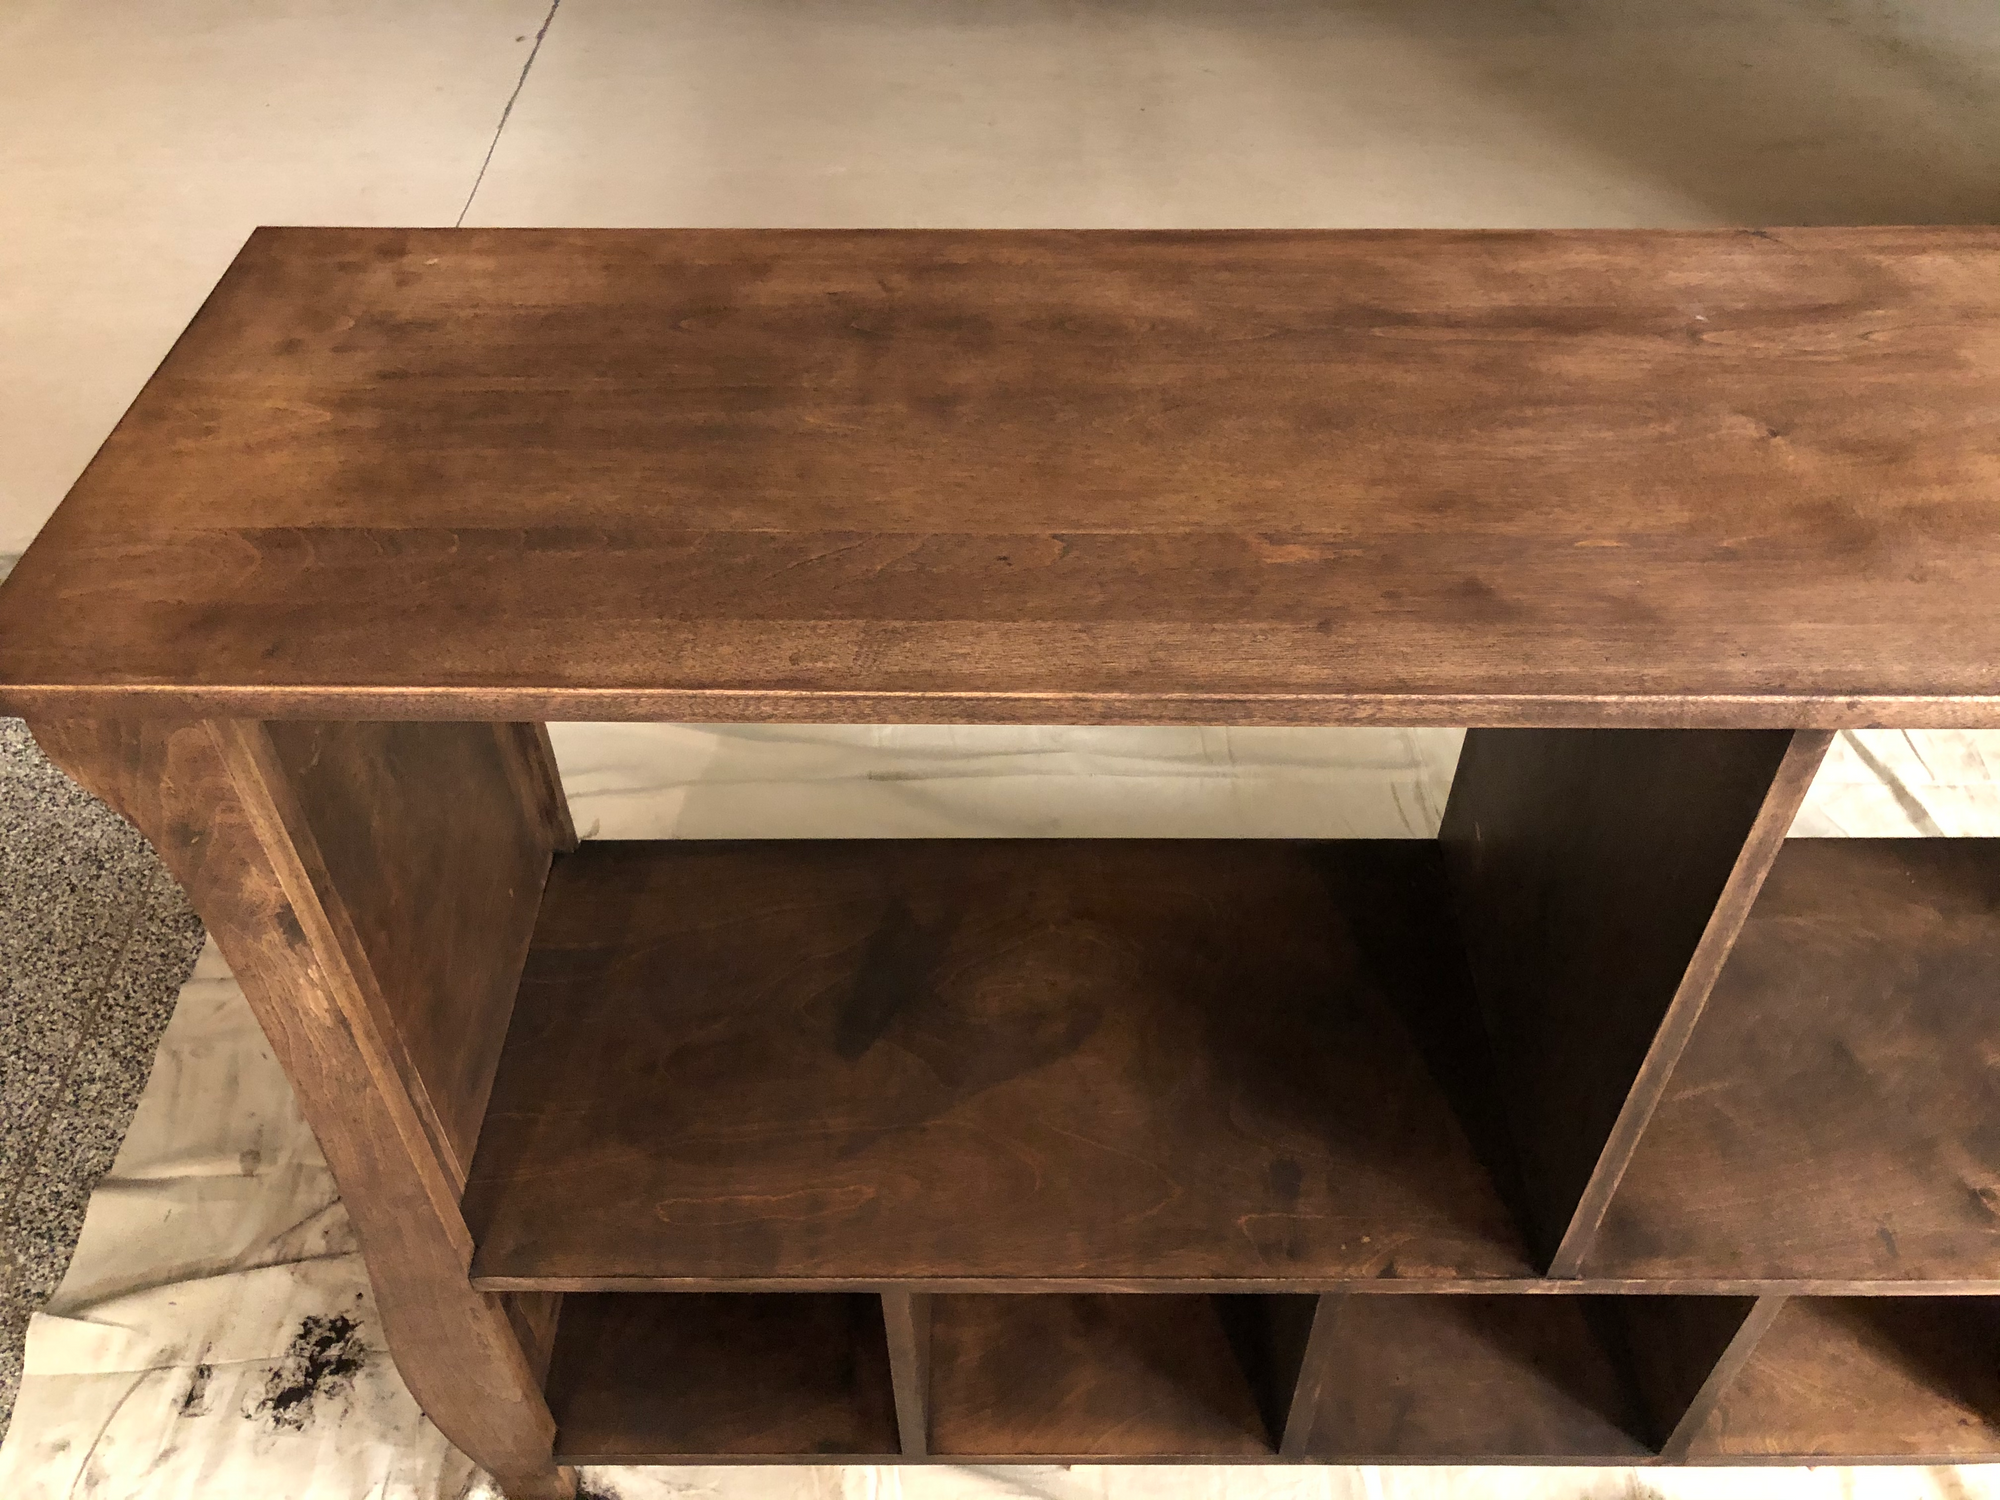
Afterwards, we found a stain we liked, and applied two coats of it, and then two coats of water-based polyurethane.